Make a slideshow bigger or smaller, and choose whether it sits on the left, on the right or in the middle with your words beside it. Both are in the same box.
Before you start, have a slideshow on the page; Add a Slideshow shows how.
Open the page in the Pages menu. Select the slideshow picture in the content editor.
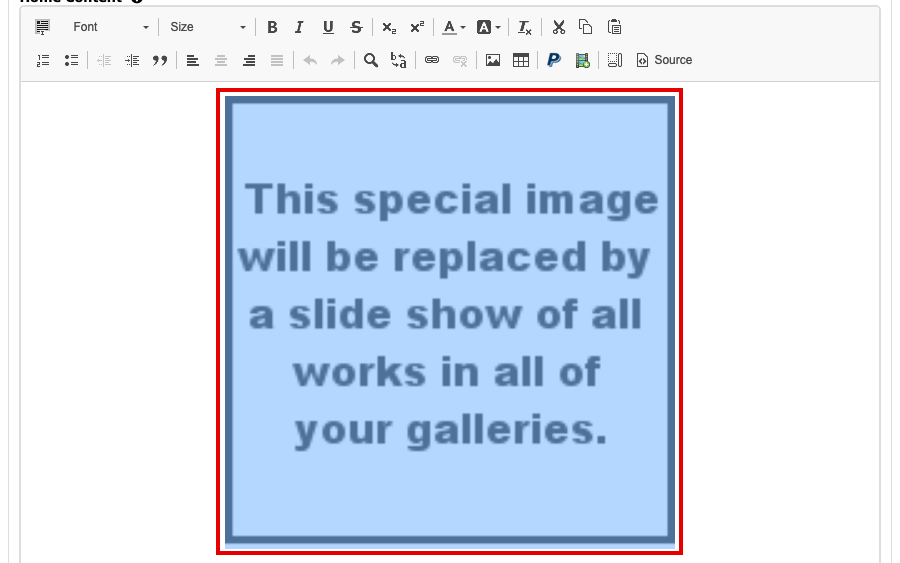
The content editor with the slideshow picture selected Select the Image button in the toolbar. Image Properties opens, with /images/slideshow.png in the URL box.
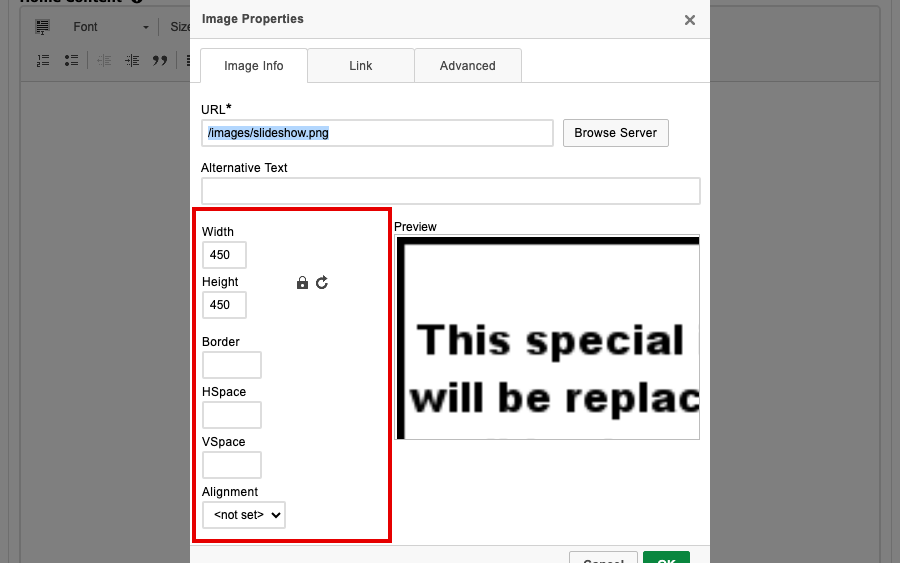
The Image Properties box for the slideshow, with Width and Height set to 450 and the Alignment menu below them Change Width and Height. While the padlock beside them is closed, changing one changes the other too, so the slideshow keeps its shape. Select the padlock to open it and set them separately. Your images are fitted into the box you make.
To wrap words around the slideshow, open the Alignment menu and choose Left or Right. The slideshow moves to that side and your text runs down the other. With nothing chosen, the slideshow sits in the middle of the page and text goes above and below it.
Select OK, then select the Update button for the page, such as Update Home. Your change is not kept until you do.
Open your website to see the result. Change the numbers or the side again until it looks right; a width and height of 450 each is a common choice for a Home page.